Even so the value of bitcoins has slightly decreased over the last couple of months, Bitcoins are still all the rage – but have you ever wondered how to make actual use of them? Luckily that’s an easy question to answer.
If you don’t only want to speculate on the cyber rate reaching further heights, you can actually do something with it almost everyone should love: Shopping! The good thing is that using Bitcoins is as easy as using a credit card. The only condition: The shop must accept the currency as a valid payment method.
How to pay with your Bitcoins via BitPay
Security expert Avira is one of those companies that allow you to pay with Bitcoins and thanks to payment service providers like BitPay it’s not all that hard. They kind of allow merchants to accept your hard-earned Bitcoins in an easy way and make paying for what you want a streamlined experience. To make sure that you can get the most out of the experience, let’s take a look at how simple it really is and download our free VPN as an example:
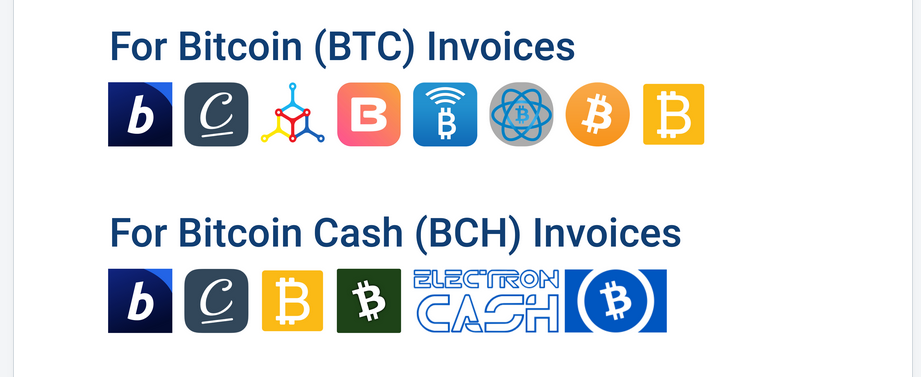
1. Your wallet needs to be supported
Make sure you have a wallet that is supported by BitPay. You can always find an up to date list over here. There are a lot of options available, so you should most likely be fine.
2. Shop like you mean it
Put some items in your shopping card and click on checkout. Klick on “Pay now” or whatever your shopping card says, just as usual. In our example with the Phantom VPN it’s even easier: The “Pay securely via Bitcoin” button is situated directly beneath the product on the landing page – so that’s one annoying step less.
3. Enter a refund email address
This one is important: You’ll now be asked to enter an email address. Please always enter a real one, even if you want to stay anonymous. The reasoning behind it is that if you want a refund this address is the one that’s going to be used – and if you buy a digital product it might also get “shipped” to it.

4. Choose to pay with Bitcoin
Obviously instead of using your normal credit or debit card option you should now choose to pay with bitcoin. If BitPay is indeed the service payment provider you should now see an overlay that says “BitPay” and looks like the image below. If the page uses another provider don’t worry: the process should be pretty similar.
5. Transfer the invoice to your wallet
The only thing left is to actually get the invoice to where your bitcoins are – to your wallet. Do so by clicking on “Open in wallet” on the BitPay overlay. Your computer will now ask you to confirm – which you will do by clicking “ok” or “yes”.
If you’d rather do this step by using another option like a QR code take a look at the video below – it’s just as easy.
And that’s it! You now should have the invoice in your Bitcoin wallet where you’ll only have to confirm the payment. Depending on your wallet that could be a “Click to pay”, “Pay invoice”, or another similar button.