Many PC users store important documents containing sensitive information completely unprotected. Indeed, data protection scandals and attacks by cybergangsters and the secret services highlight time and again that mass surveillance is no longer fiction, but harsh reality. Confidential information needs to be protected. This is where a free program designed specifically for this task can help out.
Tax declarations, account statements, contracts, personal photos: Hard disks are swimming in confidential information. And anyone who can access your computer – whether physically or via the internet – can view the data stored on it. If you want to prevent this, you need to encrypt your data. Once you’ve done so, the hard disk will only cough up the information once the correct password has been entered. Learn how to do just this in the following guide with the free program VeraCrypt.
How to create a data vault using VeraCrypt
- Download and install VeraCrypt from veracrypt.fr. Go to Downloads and click VeraCrypt Setup xxx.exe (xx MB). When installing the program, select I accept the license terms, click Next twice, then click Install followed by OK, Finish, and No.

- To create your new data vault, in the program’s main menu click Create Volume. A wizard will open that will help you create a secure storage area. You can now choose between creating an encrypted file container, encrypting a non-system partition/drive, or encrypting the system partition or entire system drive. To continue enjoying a smooth Windows experience, it’s best to create an encrypted file container. So, click the first option in the list and then click Next.

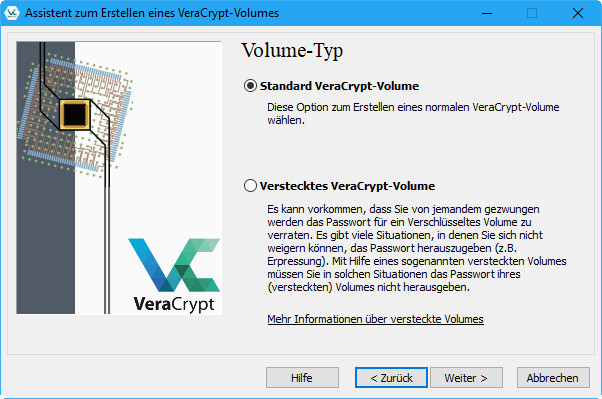
- In the following step, choose whether you want to create a Standard or a Hidden vault. If you select a Hidden vault, the protected container won’t show in Windows Explorer – if someone doesn’t know it’s there, they won’t find it either. While it’s a little more secure, it’s also more fiddly. For this reason, select the upper most option Standard VeraCrypt Volume and confirm by clicking Next.
- Now choose where you want to store your container. It can either be on your computer’s hard disk or on an external data carrier such as a USB stick. Click Select File and browse to your preferred directory using the Explorer window. It’s best to create a new folder for the data vault. To do so, click New folder. Now name the folder, such as “Data Vault”, hit enter, and click Open. Now you just need to enter a name for your file container, such as “Data Vault” again. Once you’re done, click Save and then Next.

- Now you can choose the encryption method. The default encryption method AES including the hash algorithm SHA-512 is already considered uncrackable. As such, click Next.

- Now specify the size you want your data vault to be. If you’re going to be storing documents mainly, 2GB should be more than enough. But as you can’t adjust its size afterwards, it’s best to be generous rather than skimp on the container size. To do so, select GB and enter 2 in the field. The program shows you how much free space remains on your selected drive beneath the input field.

- In the penultimate step, VeraCrypt will prompt you to enter a strong password. Follow the tips offered by the program. Here’s our tip: You can create easy to remember, yet strong passwords using phrases. For instance, for VeraCrypt you could go for something like “From 2018 I will store my data in a secure VeraCrypt vault”, which gives “F2018IwsmdiasVCv”. Passwords such as these are impossible for hackers to guess. To ensure you’ve entered your password correctly, enter it in both fields and then click Next. You can ignore the warning that your password should be 20 characters or longer. While the principle of “the longer, the better” applies, anything over 12 characters in length is usually secure. Just don’t go forgetting this password, because if you’ve moved important information to the vault and then you go forgetting the password, you will not be able to access this data again! As such, jot down your password – and keep this piece of paper (or whatever you use) somewhere safe. In the final step, move the mouse pointer around within the window until the bar turns green and is filled completely. This improves the cryptographic strength of the encryption keys based on the randomness collected from your mouse movements. Now click Format.

- It will take a few seconds for the program to create your data vault. Once done, click OK and then Exit.

How to add files to your VeraCrypt vault
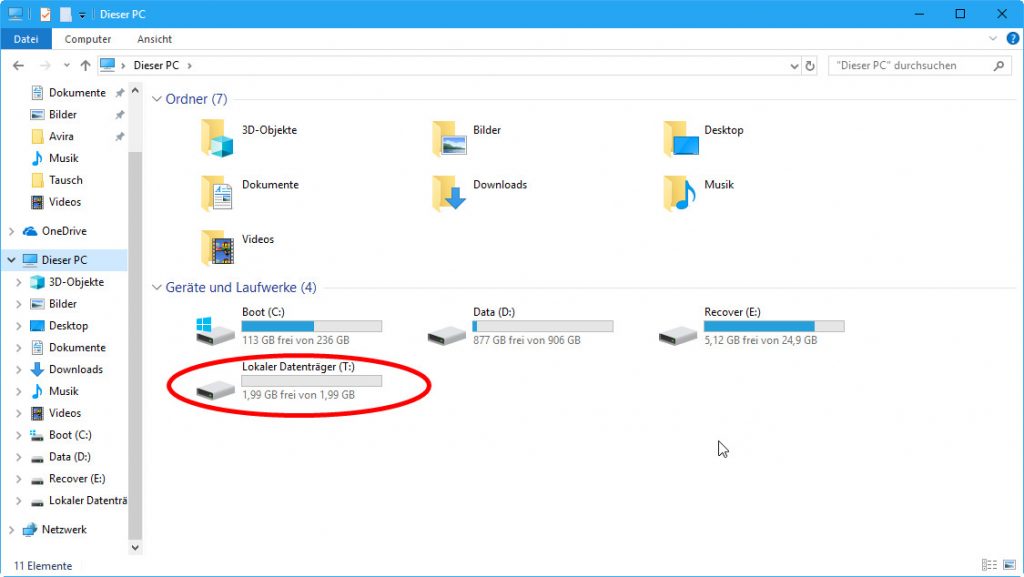
- Start VeraCrypt and select an unassigned drive letter. “T”, for instance, is hardly used as a default letter for drives. If you’re unsure, open Explorer by pressing Windows + E and take a look in the navigation area on the left under This PC to see which letters have already been assigned. If it’s unassigned, select T. Now click Select File and choose the container file you created in step 4 (in the example, “Data Vault”). Click Mount.

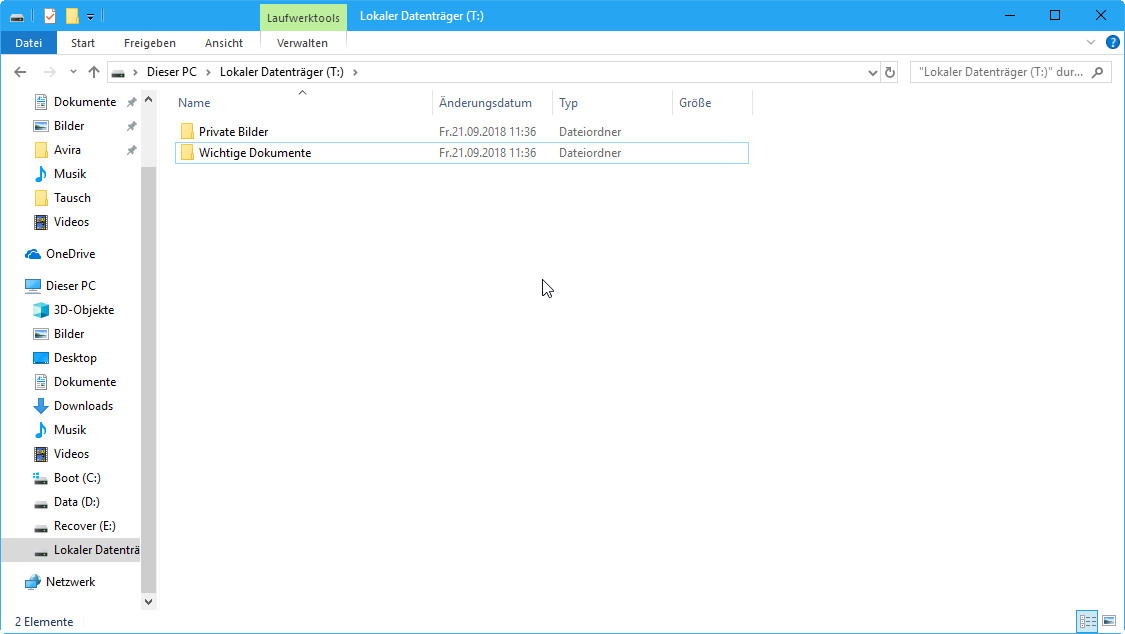
- Enter the password you set in step 7, then click OK. After a few seconds you’ll see a new drive in Windows Explorer. Based on our example, it’ll be called “Local Disk (T:)”. You can now use this drive just like any other regular drive. Move (don’t copy!) any documents and files you want to protect. Once you’ve done this, in VeraCrypt simply click Dismount or close VeraCrypt – just make sure that any container files are no longer open.
How to open files in the vault
If you haven’t started VeraCrypt, you won’t find the drive containing your data in Windows Explorer. You will only be able to do so once you’ve “mounted” the drive again using VeraCrypt, as described above. Once you’ve done this, you’ll then find the drive listed again in Explorer and you’ll be able to open your data as usual by double clicking it.
Essential: Create backups
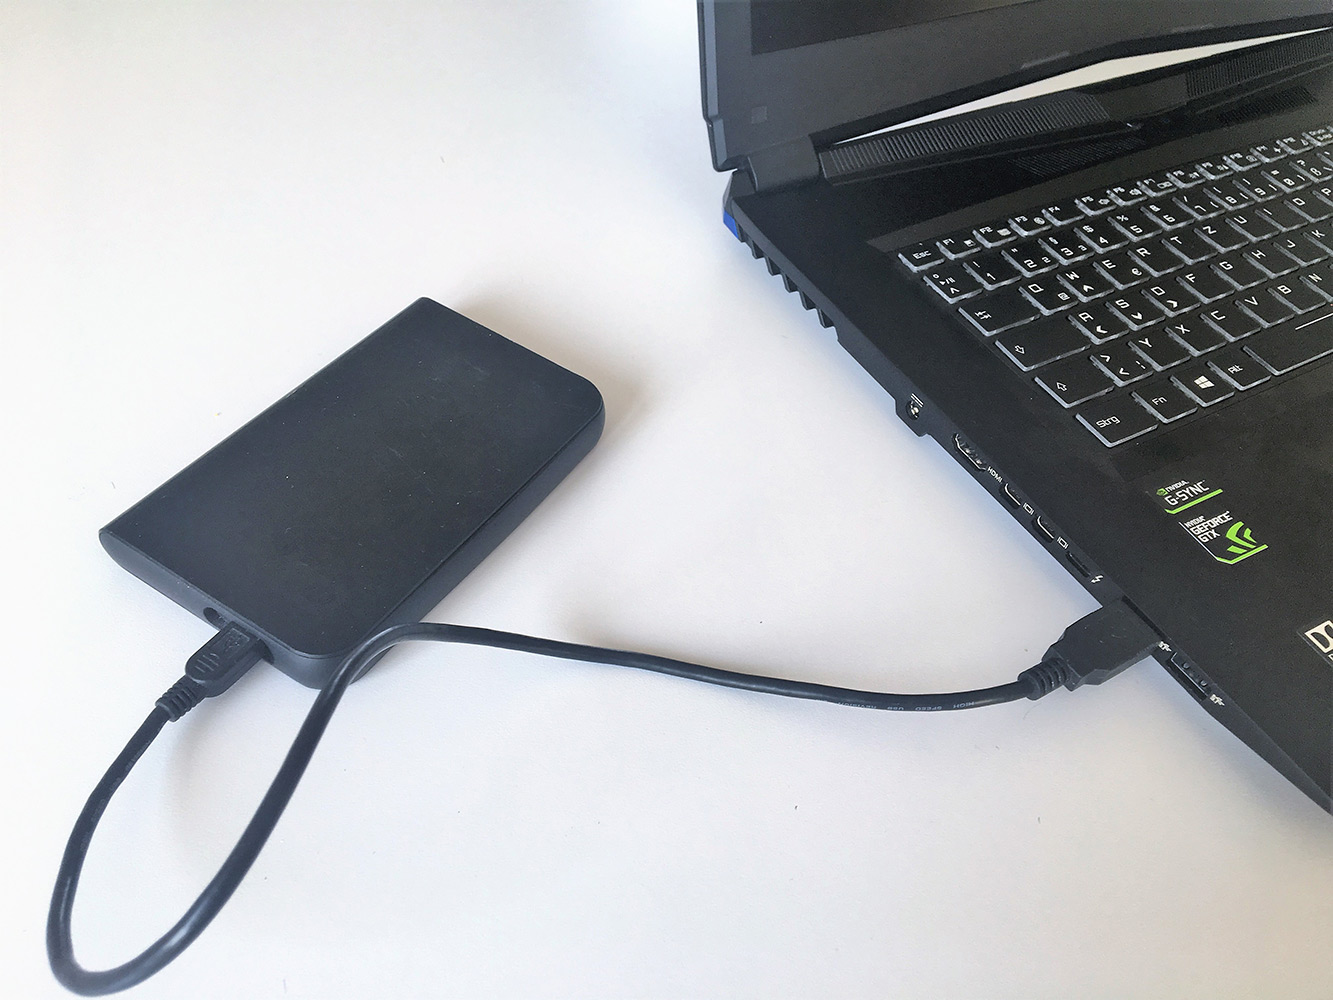
Should your hard disk, and as a result the container, suffer a failure, you’ll lose all your data. For this reason, create regular backups. The easiest way to do so is to copy the data-vault folder to an external hard disk or a USB stick.